Expense Categories
In order to simplify expense registration for the user you must create Expense Categories. With Expense Categories and a few additional variables, non-finance users can create expenses and indicate to the finance department how the expense should be posted.
The Expense Categories that you create here will be visible for users of the web portal and mobile app when creating an expense. The users are required to select a category which describes their purchase. In addition to the category the user can choose to split the expense with other colleagues or add a guest to the expense, which will indicate how to post the expense.
For each Expense Category you can create multiple posting setups in order for the finance department to easily post all possible expense variations.
- Navigate to the Expense Categories view either through the Travel and Expense Management overview or by searching for Expense Categories
- Click on New to create new Expense Categories
- Enter a Code that shortly indicated what the category is for, for example: "Food"
- Enter a Description of the category, for example "Food and beverage". Keep in mind that this description will be visible to users on the app or web portal.
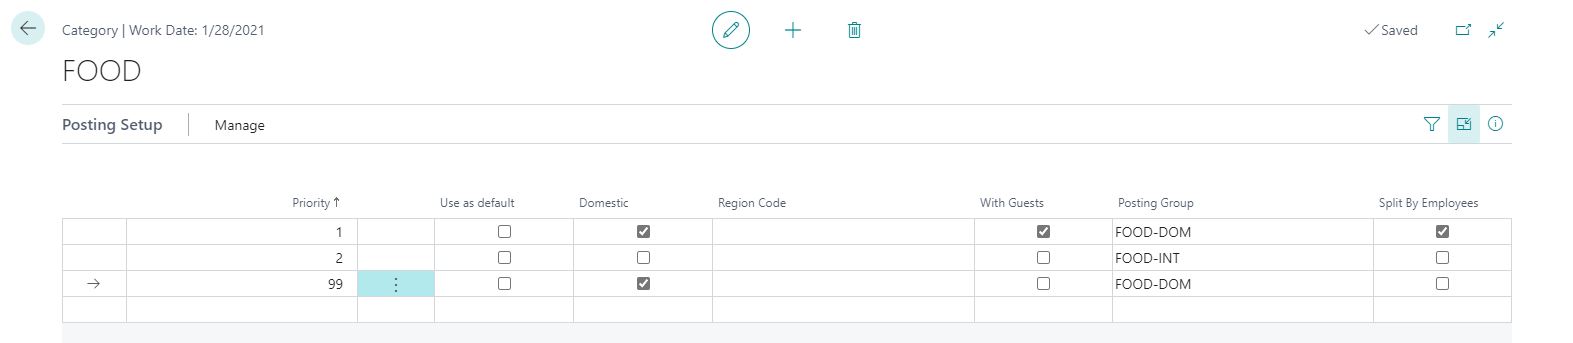
Now you need to do the posting setup for the specific category.
- Enter Priority (highest=default). When you have several different posting setups the system will decide which posting setup to use by running through the Priority numbers. The posting setup with the highest priority number is the one that the system will apply if none of the posting setups match the expense registration precisely.
- Tick off Domestic if the posting setup is only relevant when the expense location is own country.
- Select one of the Region Codes you created previously.
- Tick off With Guests if the setup in question is with guests.
- Select one of the Posting Groups you created previously.
- Tick off Split By Employees if the setup in question is split between employees.
Repeat above steps for as many categories and setups as you need. The more thorough you are with creating your categories and setup, the easier it will be for your financial department to post the expenses.
Once you've created a satisfactory amount of Expense Categories, you can proceed to Travel Rates.
