Portal Connect
Portal Connect is the service that connects Business Central with the Web Portal.
Portal Connect Setup
You need to setup a connection to the Portal Connect to enable Invoice Workflow. Find the Portal Connect Setup by searching for it:

The setup settings for Portal Connect:
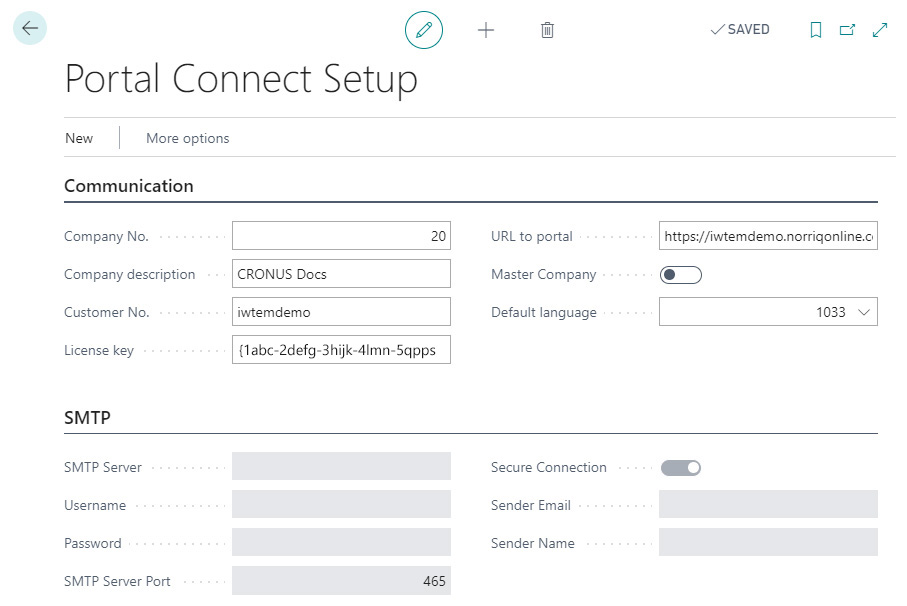
Communication
- Enter a Company No..
- Fill in a fitting Company description.
- Enter a Customer No..
- Use the License key you have received.
- Enter the URL to portal.
- Set wether this is a Master Company or not.
- Select a Default language.
SMTP
- Enter the address of your SMTP Server.
- Enter the login Username.
- Enter the associated Password.
- Enter the SMTP Server Port.
- Choose if it is a Secure Connection or not.
- Enter the Sender Email.
- Enter the Sender Name.
Creating a Portal Connect User
Invoice Workflow relies on Portal Connect users. Here is a small guide to setting up a user on Portal Connect.
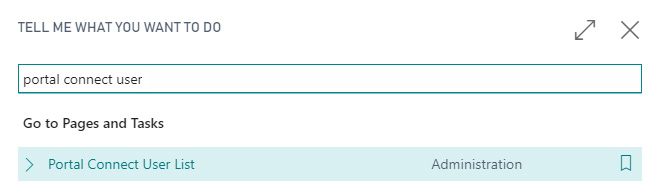
First, find the Portal Connect User List by searching for it:
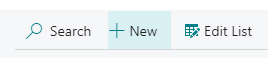
Start by clicking the New button.
This will bring up the User Card:
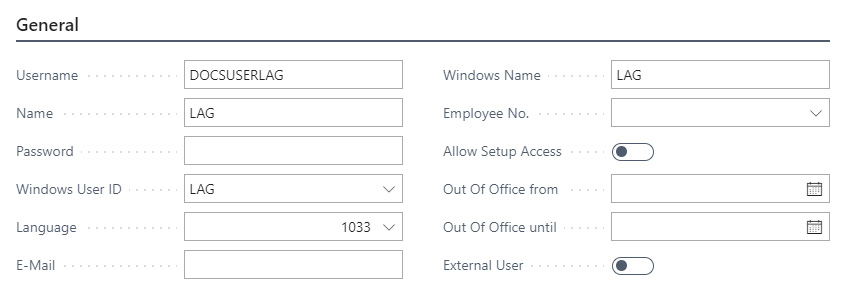
- Enter a Username. This field is mandatory.
- Enter the Name of the user.
- Enter a Password. Mandatory if you are not using Single Sign on. This field will remain blank since the password is encrypted and stored elsewhere.
- Choose a Windows User ID from the Business Central user table.
- Select a Language from the lookup. If you do not choose one then the Portal Connect setup default language will be used.
- Enter the user's email. This is used for notifications from apps.
- The Windows Name field can be ignored.
- The Employee No field is not used by Invoice Workflow and can be ignored.
- Choose if you want to Allow Setup Access for the user. This can be ignored for now. The function will in the future grant the user access to edit settings on the portal.
- Here you can also set the Out Of Office - from and until.
- Finally you can choose if the user is an External User. This is only relevant when using Single Sign on. Will allow non-Single Sign on users to login.
After completing these steps, you should continue to Document Types Settings
