Document Types Settings
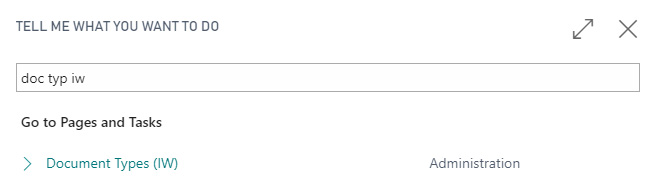
A quick way to find the Document Types Settings is to use the Tell me what you want to do feature:
On the Document Types Settings page you will be presented with a list of existing document types.
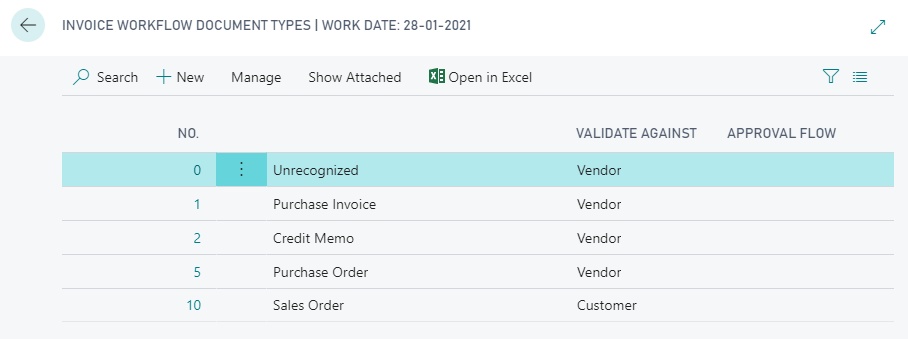
If you select New you can create a new document type. You may also choose to edit an existing document type by clicking on it in the NO. column.
Let's go through the settings available under document types:
General
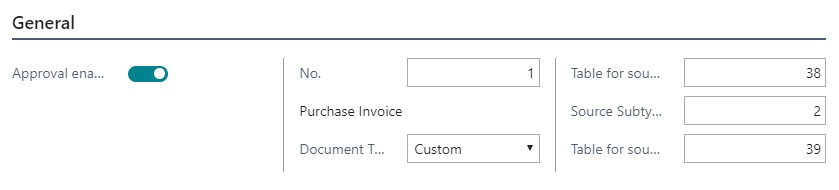
- Choose if the document should have Approval enabled or not.
- Choose or change the document No..
- Choose a Document Type.
- Sources:
- Table for source header: Shows the table number in NAV.
- Source Subtype: Refers to key value in Table for source header.
- Table for source lines: Refers to sub table, e.g. purchase invoice lines id 39.
Validation

Validate against: This setting lets you choose if the system should validate the document type against Vendor or Customer. The system will test that "Source No." is an existing vendor/customer.
Validate Bank Info: Defines how bank details are validated. Choose if and how you want to be warned if the read bank details differs from the vendor card/customer card in NAV:
- No – No validation of bank details.
- Show warning – The user is warned, but can ignore the warning.
- Show error – The document cannot be approved before the bank details have been edited.
Approval
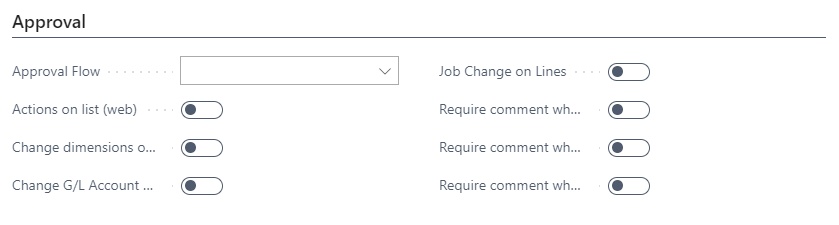
- Choose which Approval Flow to use.
- Toggle permissions for approvers:
- Actions on list (web).
- Change dimensions on document.
- Change G/L Account on lines.
- Job Change on lines.
- Set requirements for commenting when: Approving, Rejecting and Returning.
Preregistration on Document Types
For a specific document type you can pre-register e.g. which General Journal Template and General Journal Batch the system always should use.
You find the Preregistration settings in the top menu when editing or creating a new document type.

To enable pre-registration do the following:
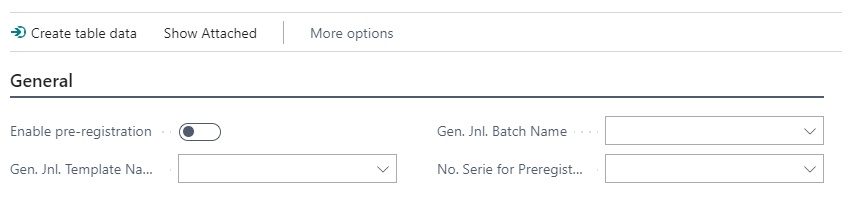
- Click the Enable pre-registration toggle to enable pre-registration.
- Choose a General Journal Template Name.
- Choose a General Journal Batch Name.
- It is recommended to use a separate journal just for the Pre-Registration postings
- Select the No. Series for Preregistration.
Finally, set up Accounts:
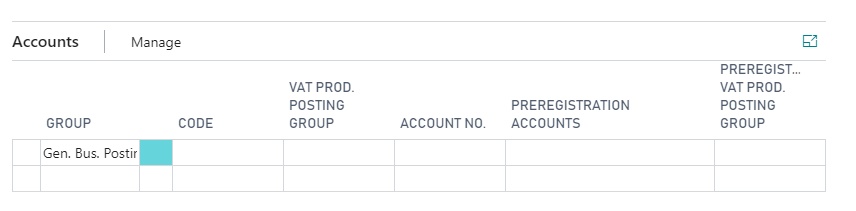
- Under GROUP select: Gen. Bus. Posting Group; Debit entry excl. VAT, VAT. Bus. Posting Group; Debit entry incl. VAT or Vendor Posting Group; Credit entry incl. VAT.
- Choose a code in the CODE column.
- The VAT PROD. POSTING GROUP is taken from the VAT.Bus.Posting group or Vendor Posting Group.
- Select an account number from the ACCOUNT NO. lookup.
- Choose a PREREGISTRATION ACCOUNT.
- Choose a PREREGISTRATION VAT PROD. POSTING GROUP.
It is possible to register costs in the form of a provision before the Purchase Invoice is posted in NAV. When the Purchase Invoice is sent for approval, automatically, a provision posting will be generated by the system on the date of the approval request. When the Purchase Invoice is finally approved and gets posted, the provision posting will be reversed (on the Posting Date of the Purchase Invoice) and the final invoice registration is done in the accounting.
In addition, it is also possible to do some VAT pre-registration. When the provision posting is generated, not only the costs are provisioned, but also the VAT is provisioned in a separate account. Moreover, VAT Entries are also created, so in that, it is possible to already declare the VAT before the final posting of the Purchase Invoice.
When sending the Purchase Invoice for approval, the Pre-Registration posting will be done in the background. Both General Ledger Entries and VAT Entries are created at that time.
When the Purchase Invoice gets posted (after being approved) the Pre-Registration posting will be reversed and the actual posting linked to the Purchase Invoice will be effectuated.
Next step
Congratulations, you have now completed the initial Invoice Workflow setup. You should consider proceeding to the administrator section to set up users and approvers.
