Invoice Workflow Installation requirements
Introduction
This is the technical reference guide for Invoice Workflow. This guide will give you an overview of the different parts of the Invoice Workflow solution, how to install it and how to set it up.
Architecture
Below is an illustration of a typical on-premise installation of Invoice Workflow:
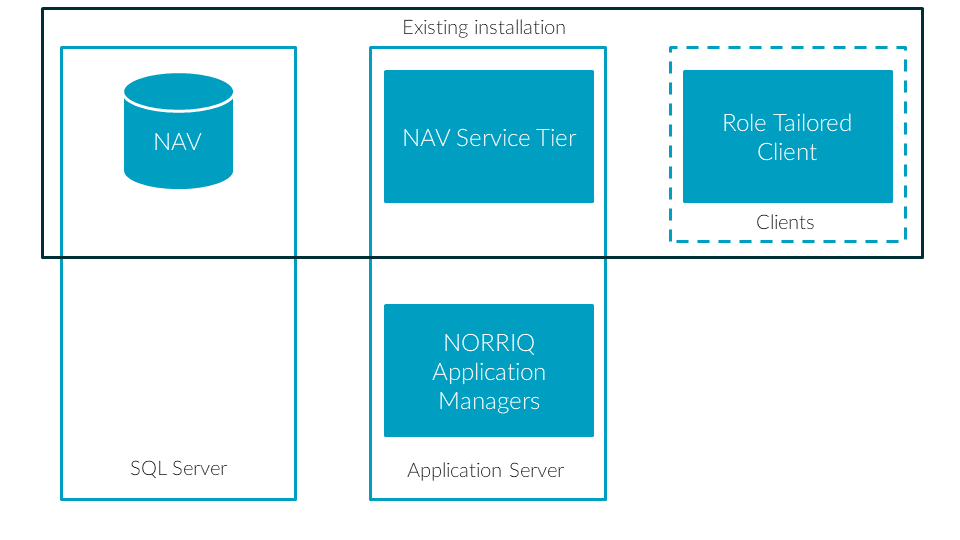
Figure 1: Typical Invoice Workflow installation overview.
The installation requires two managers installed. The first is the Portal Connect manager. This manager handles all communication with NAV via web services. The second is the Invoice Workflow manager. It communicates with NAV via the Portal Connect manager and handles all communication with the online parts of Invoice Workflow. It is common to have the managers on the same machine as the NAV service tier used for web services.
Installation
Prerequisites
The following components are required for installation of Invoice Workflow:
- Portal Connect v1.3.
- Microsoft Dynamics NAV 2013 R2.
All other requirements are covered by the requirements of Microsoft Dynamics NAV 2013 R2 requirements and prerequisites.
Updating from previous versions
Invoice Workflow v6.0 is required to update to this version of Invoice Workflow.
Network
Invoice Workflow uses direct communication with the Portal Connect manager via http. The port can be configured on the Portal Connect manager and specified on the Invoice Workflow Manager.
Dynamics NAV server
General
Invoice Workflow uses the Portal Connect service to communicate with NAV.
Copy DLL files to service tier
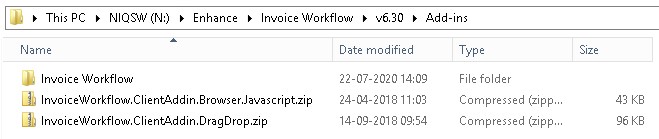
Copy the Invoice Workflow add-in “Invoice Workflow” to the add-ins folder on NAV service tier.
Install Invoice Workflow Manager
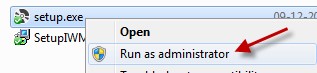
Install the Manager application by running the Setup.exe. Please ensure that you run the installer with administrative privileges.
Setup.exe will check prerequisites on the server and launch SetupIWManager if all requirements are met. Depending on the server setup, a newer version of .NET might be needed.
Invoice Workflow Manager Configuration
Ensure that the user running the Invoice Workflow Manager service has both read and write permissions on the file import folder.
Once the service is started, browse to http://localhost:3070/admin/settings on the machine running the service.
Input the customer key and the customer id, and correct the path for the Portal Connect Service if they are not installed on the same machine.
On the client
Install client add-in
For NAV2016 and newer versions, the Client Add-in is automatically copied from the Server instance.
Setup in NAV
IW Setup Page
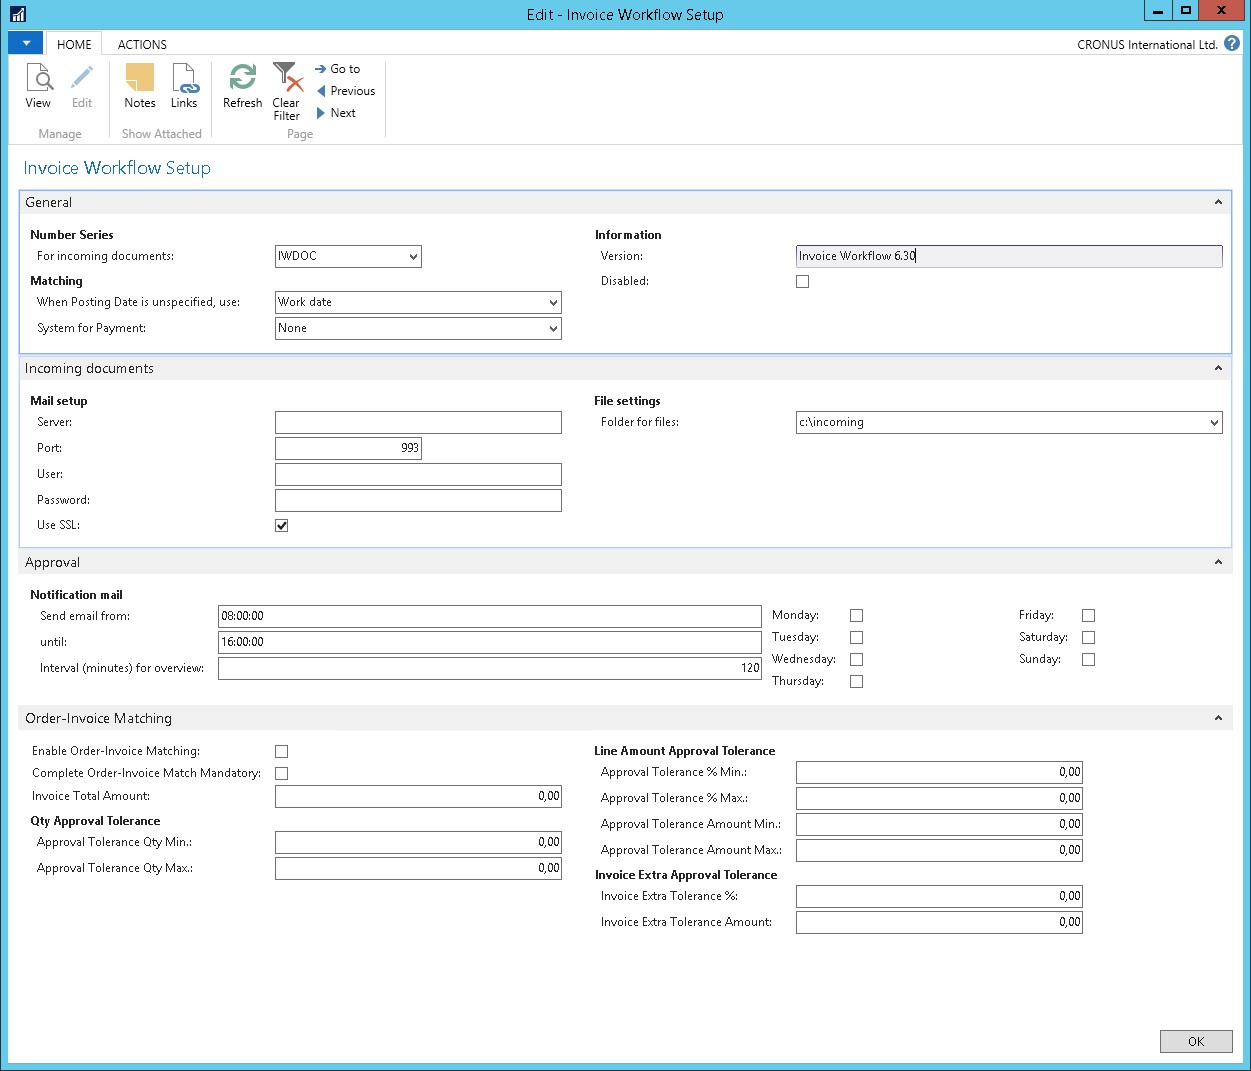
General:

Set up a number series for the incoming documents and provide it in the Number Series section.
System for Payment can be changed to Continia PM if Payment Management is used.
Incoming Documents:

Mail setup provides information for inbound mail services. This requires a server name, the used port and a username / password. The Invoice Workflow manager then checks the mailbox regularly. The usual ports are: 25/587 (POP3) 143/993 (IMAP) where 993 is the default setting. The mailbox must be empty before using it for Invoice Workflow. The mailbox should only be used for Invoice Workflow. File Settings provides an option to set a folder (UNC share) for the manager to also check for inbound files. This folder is also used for the drag and drop feature.
Approval:

Notification mail defines when reminders are sent to users. The sending of emails is handled by Portal Connect as is event based.
Actions:
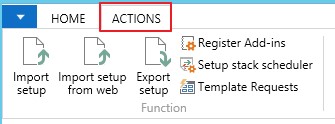
Under the Actions tab, press the Import Setup button to import the latest configuration file. If Portal Connect is correctly configured, the Import setup from web button is also possible to get the latest setup file. This is only for .fob Installations: Press Register Add-ins to ensure that the two components, used by the client for drag and drop, and document viewing are registered.
Client add-ins
This is only for .fob Installations. After using the setup page to create add-in entries, browse to the control add-ins page in NAV:
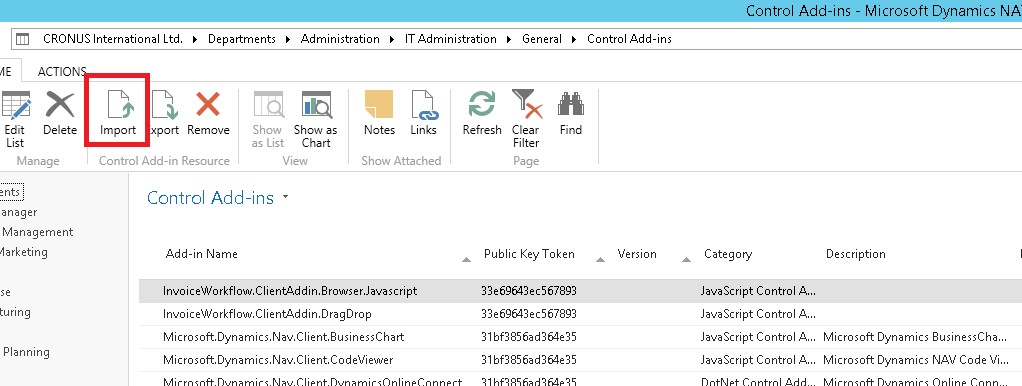
From here, select the Invoice Workflow entries individually. Then import the corresponding .zip file.
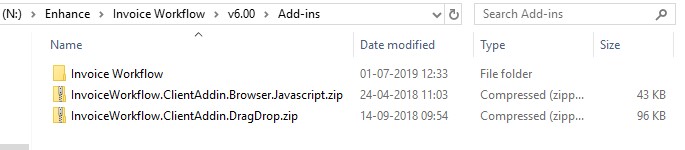
The .zip filenames match the add-in name they should be imported into.
Document types
To ensure the needed fields are used, navigate to the Invoice Workflow document types:
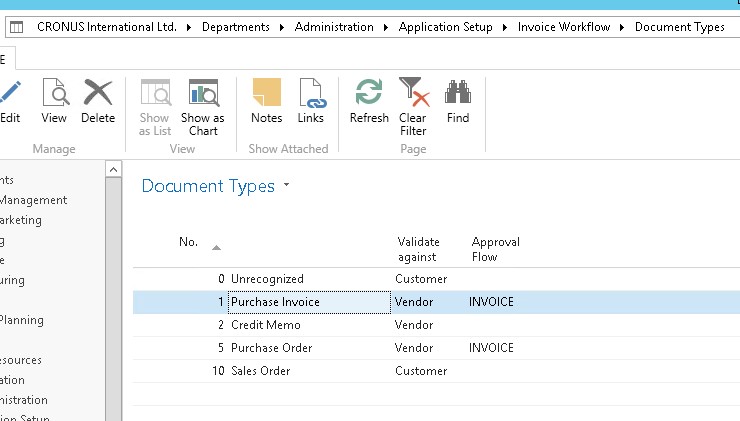
Edit each document type as needed.
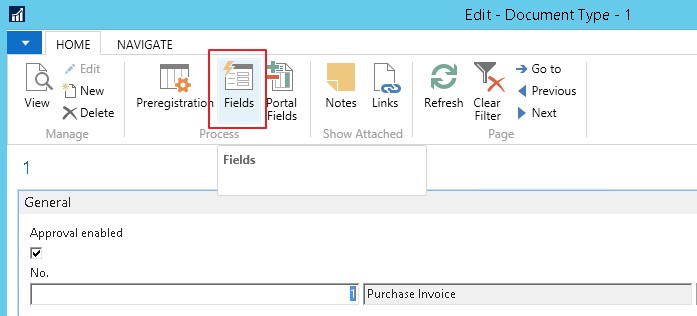
Press the Fields button.
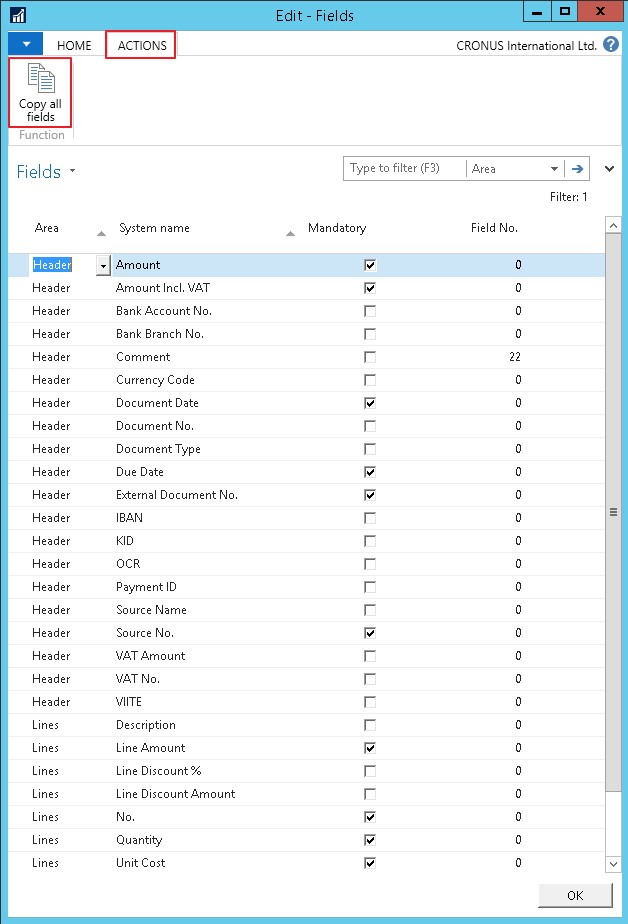
If the table is empty, press Actions->Copy all fields. Adjust the mandatory fields as needed.
NAV objects
Most of the work of Invoice Workflow is kept in separate objects belonging to the Invoice Workflow add-on (granule 6151630). Only a few standard objects have been modified in order to integrate into standard business logic.
Codeunit 6173690 has been provided for easy hooks at key places in Invoice Workflow logic. As changes to this codeunit will be minor (e.g. adding functions), it is also safe to place extended functionality here, in case of upgrades.
Uninstall
In order to remove Invoice Workflow, use Control Panel -> Programs and Features and choose Uninstall.

For NAV, remove all relevant Invoice Workflow code from the impacted standard objects and stop all NAS instances running Invoice Workflow.
