Expenses
After an expense has been submitted and approved it will be available to be processed by the bookkeeper in Business Central. Processing an expense can include a few different elements, such as:
- Posting the expense.
- Splitting the expense between multiple employees.
- Sending expenses back to either the approver or completely rejecting them.
Editing an expense
An approved expense will look as follows when opened from Business Central
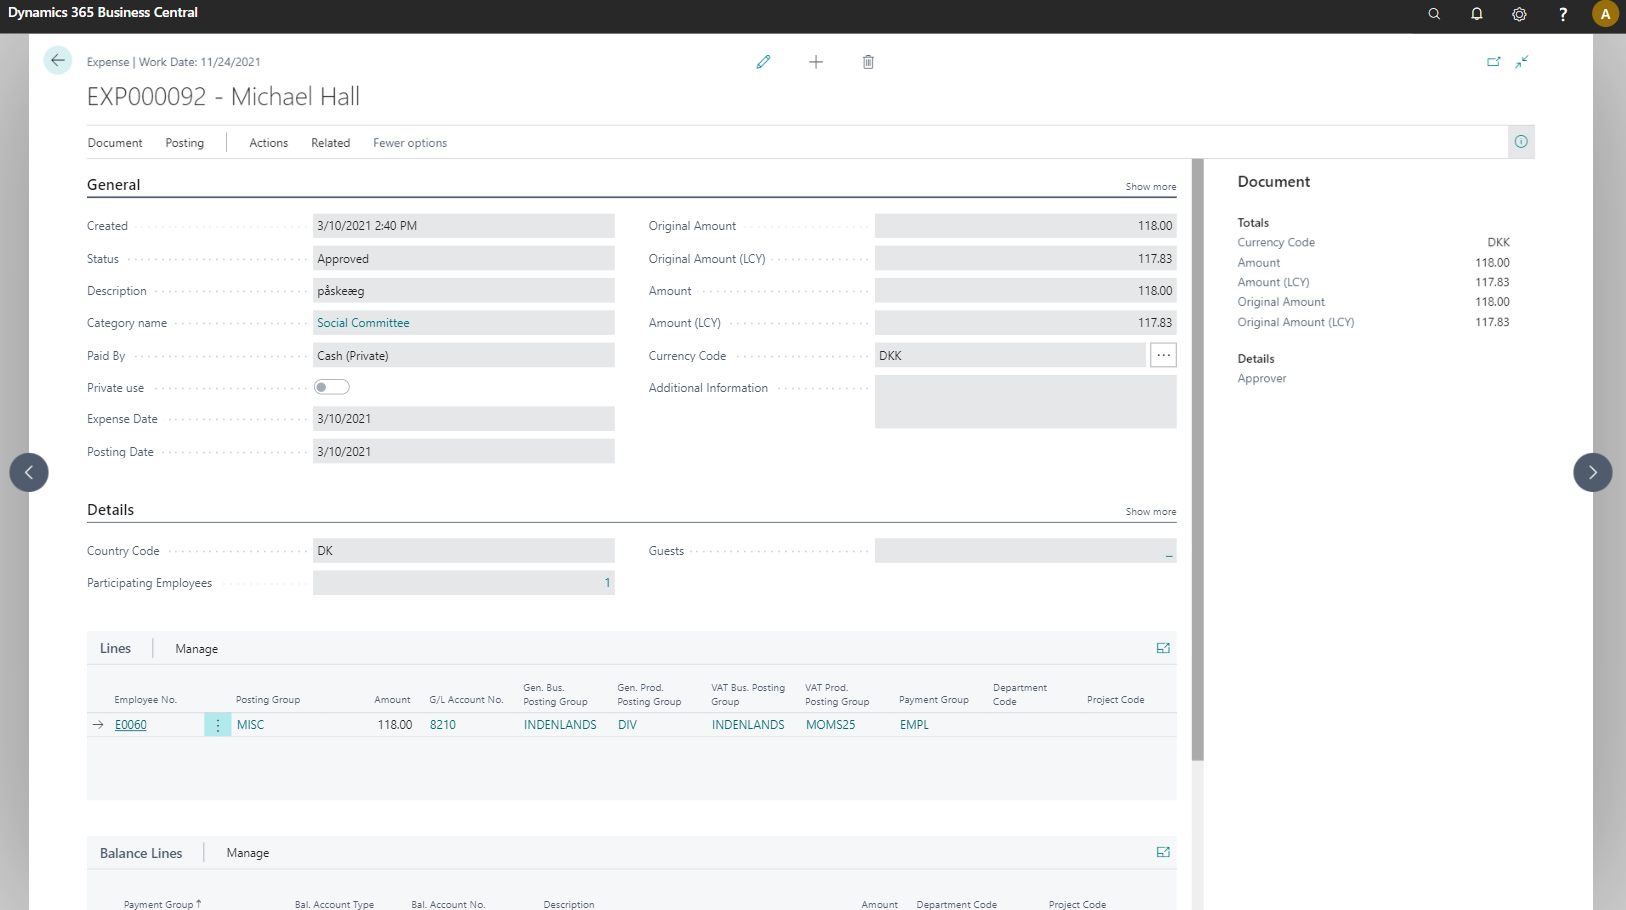
The fields that can be edited in this view are:
- Posting date: The day on which the item is to be posted, useful for companies that prefer their expenses to be posted on specific dates of the month.
- Additional information: Here you can write any information or context that can be relevant.
- Lines: Here you can change the particulars of the expense in question, such as posting groups and which employees were relevant. You may also split the expense between employees.
- Balance lines: These are the lines that are to be paid out to employees, thus you are able to pay out to specific employees, on occasion different from the lines.
- Dimensions: Accessed through Document in the action bar, the dimension view allows you to change dimensions. These are Business Central standard.
Posting an expense
Posting an approved expense can be done in a few short steps.
- Navigate to the Expenses (TEM) view either through the Travel & Expense Management overview or by searching for Expenses (TEM)
- Select an expense with the Approved status in green.
- Confirm that the details of the expense are in order.
- In the action bar, select Posting and then Post....
You have now successfully posted the expense. Alternatively, if you wish to return the expense to the approver or reject it in entirety:
- Navigate to the Expenses (TEM) view either through the Travel & Expense Management overview or by searching for Expenses (TEM)
- Select an expense with the Approved status in green.
- In the action bar, select action, then approval.
- Select Return to approver or Reject Expense
Splitting an expense
Some expenses that have already been approved will on occasion need to be split between the employees. This can be done manually from the expense view.
- Navigate to the Expenses (TEM) view either through the Travel & Expense Management overview or by searching for Expenses (TEM)
- Select an expense with the Approved status in green.
- Input each of the employees between whom the expense should be split.
- In the action bar, select related, then document, then split expense.
The expense has now been split evenly between the employees listed.
