Template Designer
Tasks
As a template designer your task is to design the templates that Invoice Workflow uses to identify and lift values from Purchase Invoices, Purchase orders and Sales Orders.
You access the Template Requests on the portal.
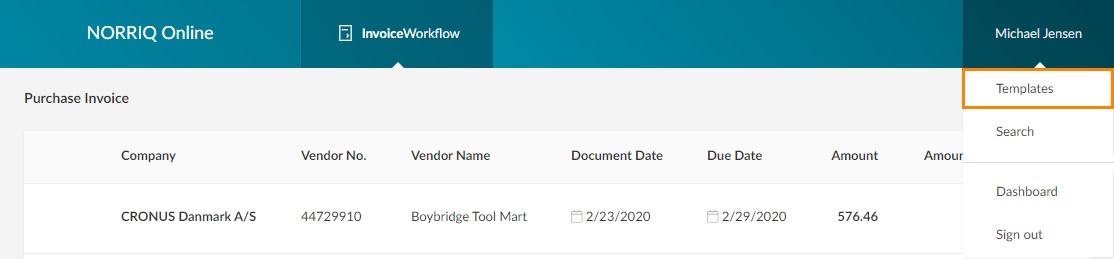
- Select Invoice Workflow product in the top menu.
- Click on your username in the top right corner of the page.
- Select Templates.
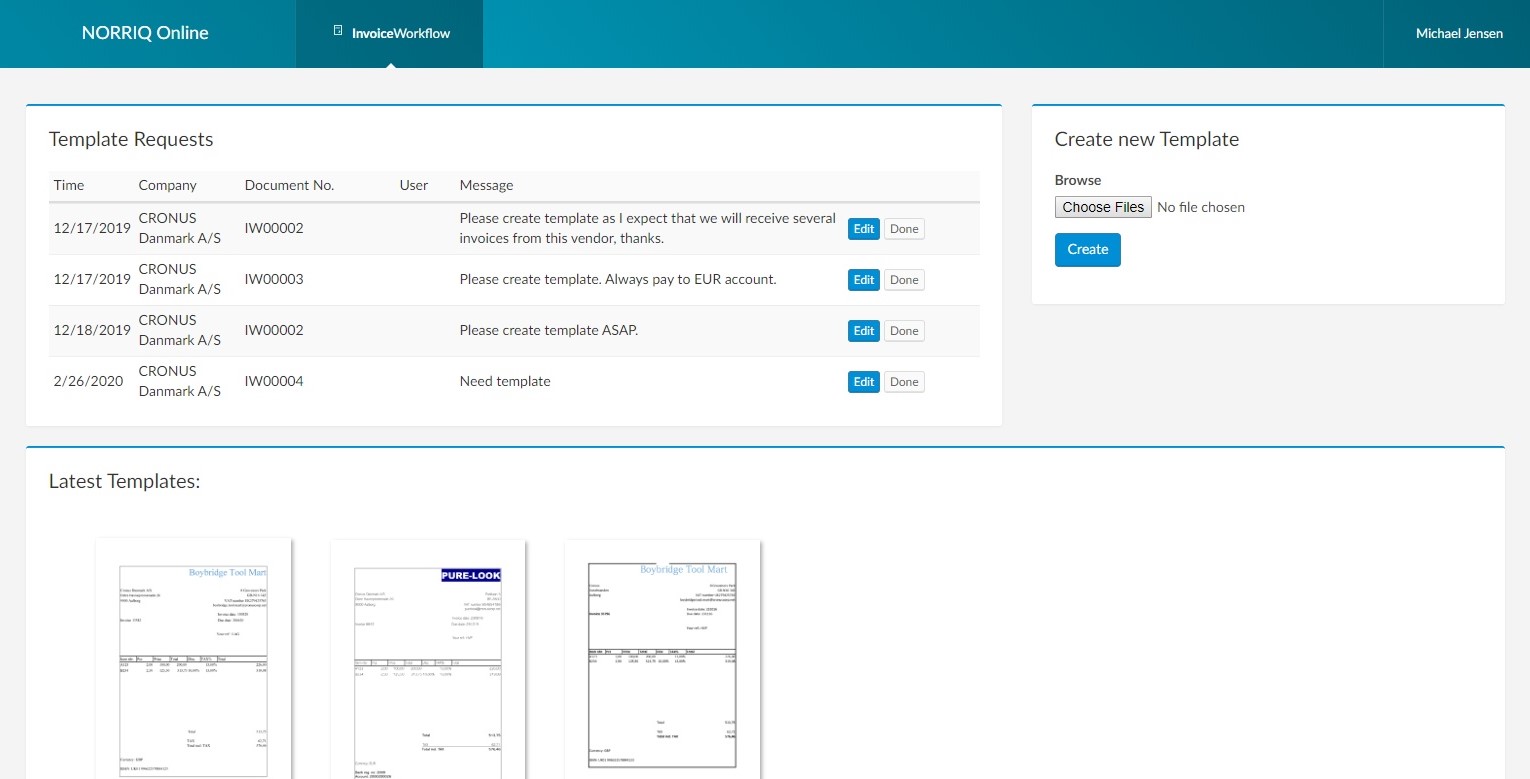
This will open the Templates dashboard. Here you can see the current Template Requests, the Latest Templates that has been created and Create new Template.
When you edit a template request or create a new template from scratch, you will use the same interface.
Create template
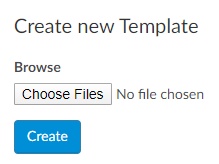
Create a new template by choosing an example invoice or order from the vendor:
- Click the Choose Files button and select an invoice or order from the vendor.
- Click the Create button.
The template will be processed and finally show up in the Latest templates box on the page.
Edit the template by clicking on it.
Creating a template will take you through these mandatory steps:
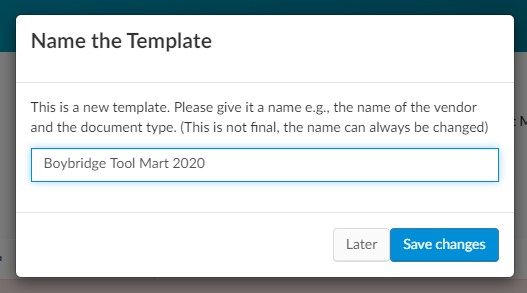
- Name the template.
- Document type.
- Identification
After these steps, the process is the same as when you edit a Template Request.
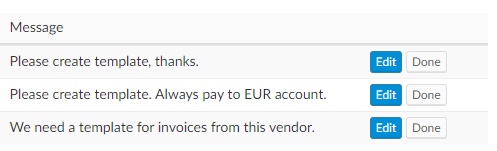
Editing and completing a template request
Click the Edit button to start editing a template request. When you have completed the task, click the Done button and the template request list will be updated. This action will overwrite any previous templates from this vendor for this document type.
Edit
If the OCR engine cannot determine the type of the document or two phrases or numbers that identify the vendor, you are required to mark those.
Marking a word, phrase or numbers can be done by clicking, but in some cases you can be required to drag a box around the wanted group of characters or digits.
Identification

Invoice Workflow requires two identification rules.
- Select two identifiers.
- Click Save changes.
Document Type
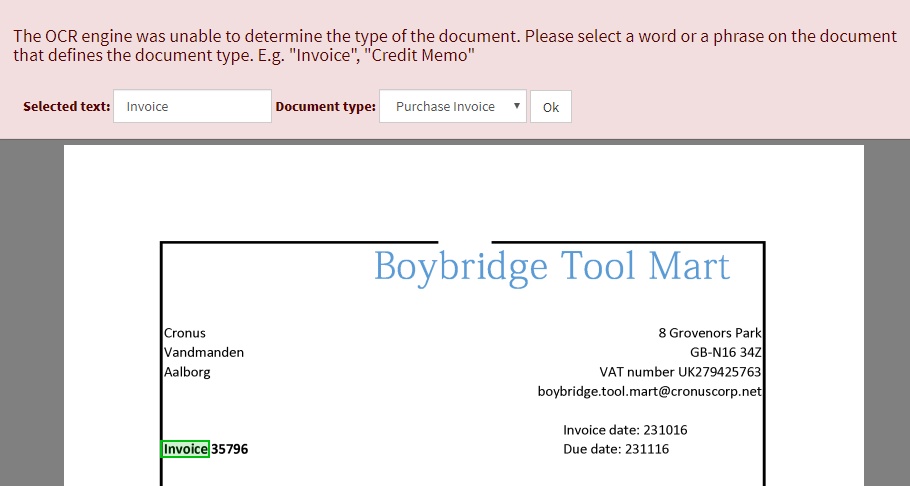
To help Invoice Workflow determine the correct document type do the following:
- Select a word or phrase on the document that defines the document type.
- Make sure the Document type field corresponds with the document type you wanted.
- Click Ok.
Fields
The Template Designer can choose which fields Invoice Workflow should pick up when running an OCR scan of the document.
To start the process:
- Click the Add button next to the wanted field in the Unmapped Fields list.
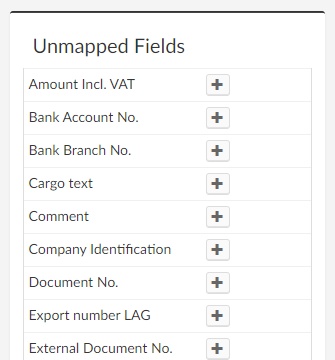
- In the document preview select the Lead text (green).
- And finally select the Value (pink).

Once completed the field will be added to the Fields list.
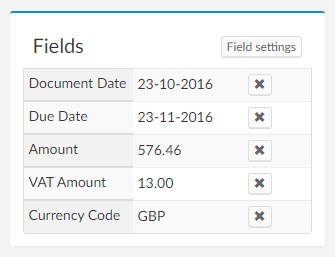
You can remove a field from the list by clicking the Remove button  .
.
Name, save and return to template list
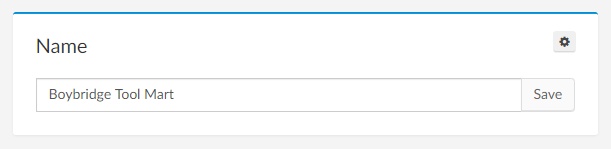
You can name or rename your template in the Name box. Here you can also save the template by clicking the Save button.
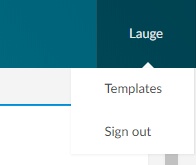
Return to the template list by selecting your name in the top right corner of the screen and click on Templates.
Additional features
In the Name box you can access two additional features by clicking the cogwheel button: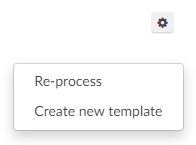
Re-process
This command will force a reprocessing of the document based on the current or a newly created template.
Create new template
This command will force the creation of a new template based on the current document.
Next step
When you have done the basic Invoice Workflow setup, Document types settings and template design, you must finalize the setup by completing the Approval settings.
