Set up an Approval Flow
How to create an approval flow
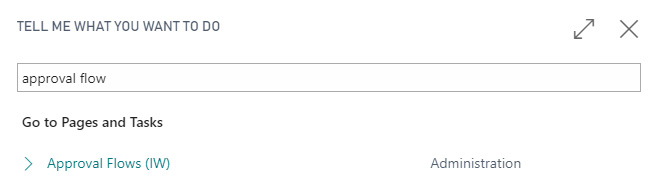
The following will guide you through the process of settings up an approval flow. Start by searching for Approval flow using the Tell me what you want to do field.
- Click on the Edit List menu item. This enables you to edit the list. Jump to the blank line at the bottom.
- Enter a name for the flow in the Code cell.
- Enter a description for the flow in the Description cell.
- In the Approvers for this flow table you can select an approver among the available approvers. These must be set up beforehand.
- Set the May authorize up to amount. An amount of "0,00" means unlimited.
- In the Approved by you choose which approver should be next, if the amount is too high.
- The next three cells let's you define if the approver can change Dimensions, G/L Account and Job in this specific approval flow.
- Setting a check mark in the Default Approver checkbox sets the approver as the default approver.

The final cell is called Status. This will show a warning if the entered field values lack conformity. This is the case if you have not specified Approved by or if the chosen Substitute Approver is not authorized to approve the same amount as the first approver.
